24th February, 2022 –
One of the frustrations that every developer experiences over their career is having to set up their machines from scratch multiple times. Especially when starting a new job, or when a machine happens to die right in the middle of an important project with a looming deadline.
Particularly painful was an operating system transition – I’ve gone from Windows to Linux, Linux to Mac, Linux on a Mac, Mac to Linux, and then back from Linux to Windows. Every time there was a heap of yak shaving that was required to get each setup exactly how I wanted it so I could develop at pace.
Because my weapon of choice for many years was Vim, I did manage to get to a point where it was a little less painful by writing a dotfiles GitHub repository and a Makefile, so I could just run make install on a new machine. It wasn’t perfect, though, and there was still a process to go through to get it set up how I wanted.
Fast-forward to 2020, and there are a heap more options for IDEs – I’d guess that only the die-hards are still using Vim as their main editor (although if you’ve ever used Vim in anger it would need to be pried from your cold, dead hands – like it almost was mine).
Enter AWS Cloud9
My current choice is AWS Cloud9.
It runs on an EC2 instance in your AWS account, so you’ve got full control over it, and you can decide what size of instance you want it to run on. You can increase the size of the disk it uses, and you can click a button to get a development environment that’s exactly how you want and are used to, every time.
And it’s a pretty easy sell to get work to pay for it – one morning of lost time battling Windows updates, reinstalling an OS or switching from one machine to another would pay for six months worth of EC2 compute to run your Cloud9 instance (assuming you decide to run a larger instance than what’s available on the free tier).
Let’s run through the steps of getting a fresh Cloud9 instance set up, make some edits to this blog post and deploy it to mckinnel.me to show how easy and quick it is.
Create Cloud9 Instance
1. Navigate to Cloud9 and create an instance
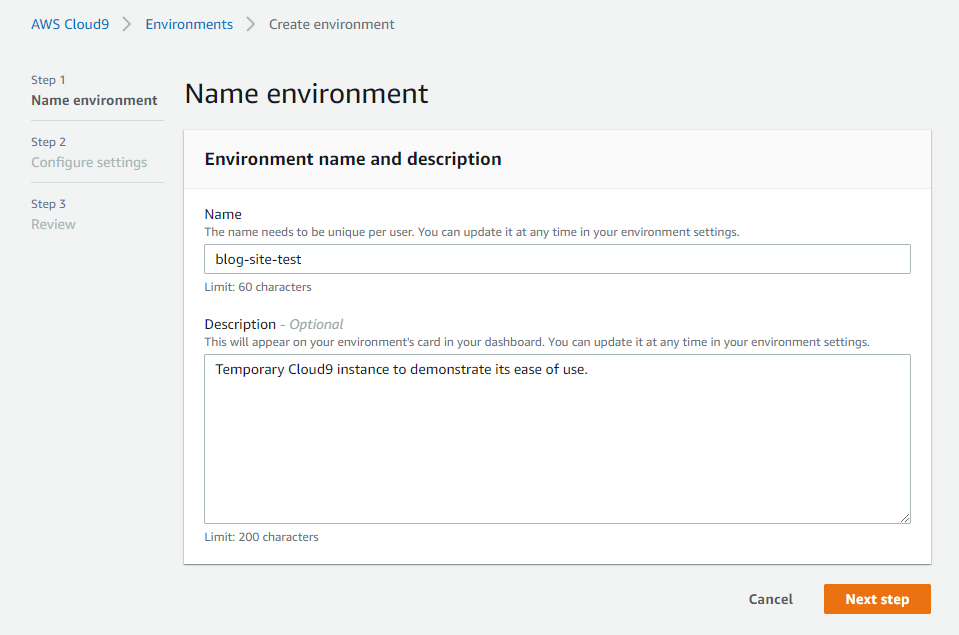
2. Give it a name and description
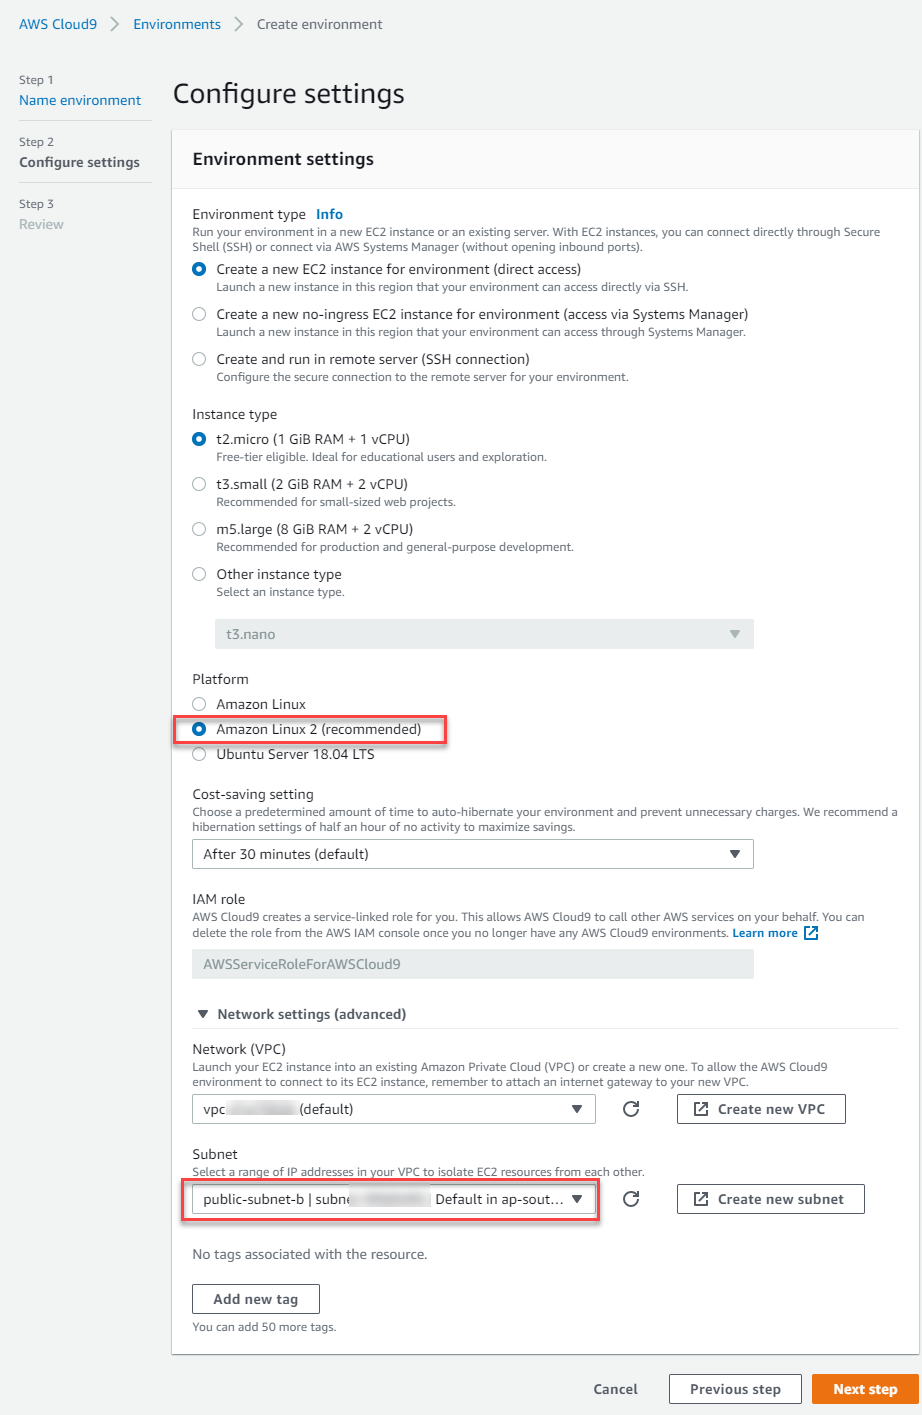
I prefer to use the latest Amazon Linux, so I select Amazon Linux 2. I also like to be able to expose my instance to the internet, protected by security groups, so I can serve local sites from it while I’m developing, so I make sure that the instance will be launched in a public subnet.
Note: If you don’t want to expose your instance to the internet and protect it with security groups, you can deploy it into a private subnet and choose Create a new no-ingress EC2 instance for environment (access via Systems Manager). This will mean you can’t hit your local development servers in a web browser unless you figure out how to SSH port forward with SSM or set up a VPN connection.
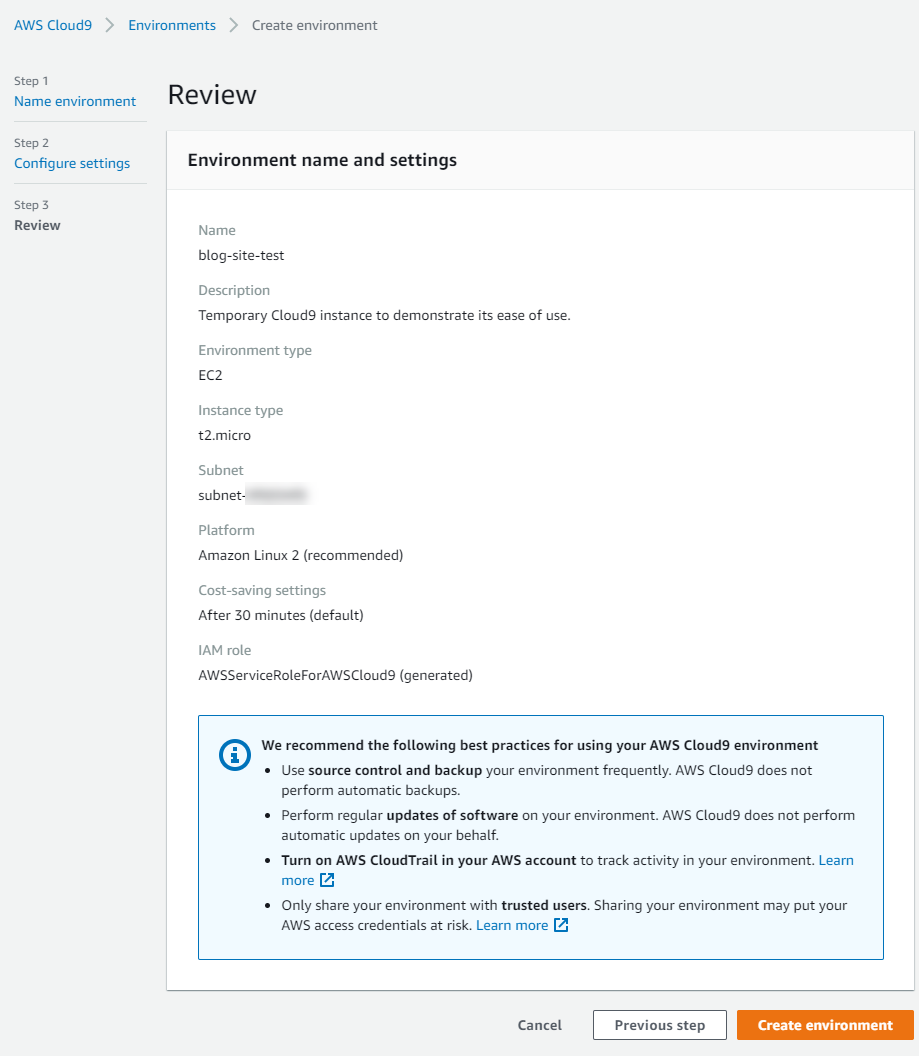
3. Let’s launch our instance!
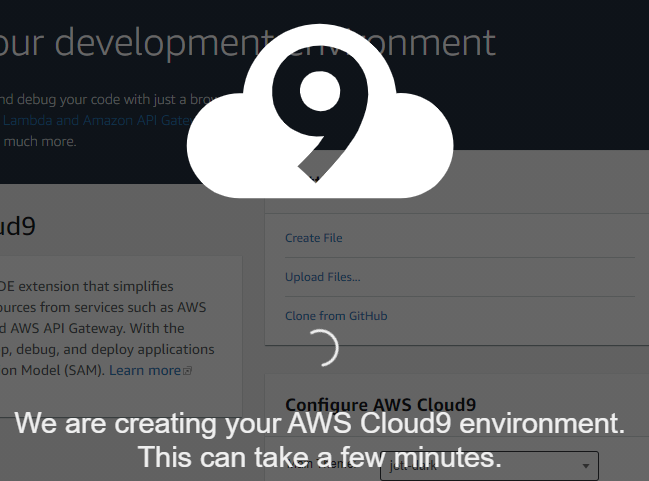
After a couple of minutes, you should see your new Cloud9 instance ready to use. If it gets stuck on the connecting screen, you might have accidentally deployed it into a private subnet, or have some other funky stuff going on (like NACLs, etc.), so double check your VPC settings.
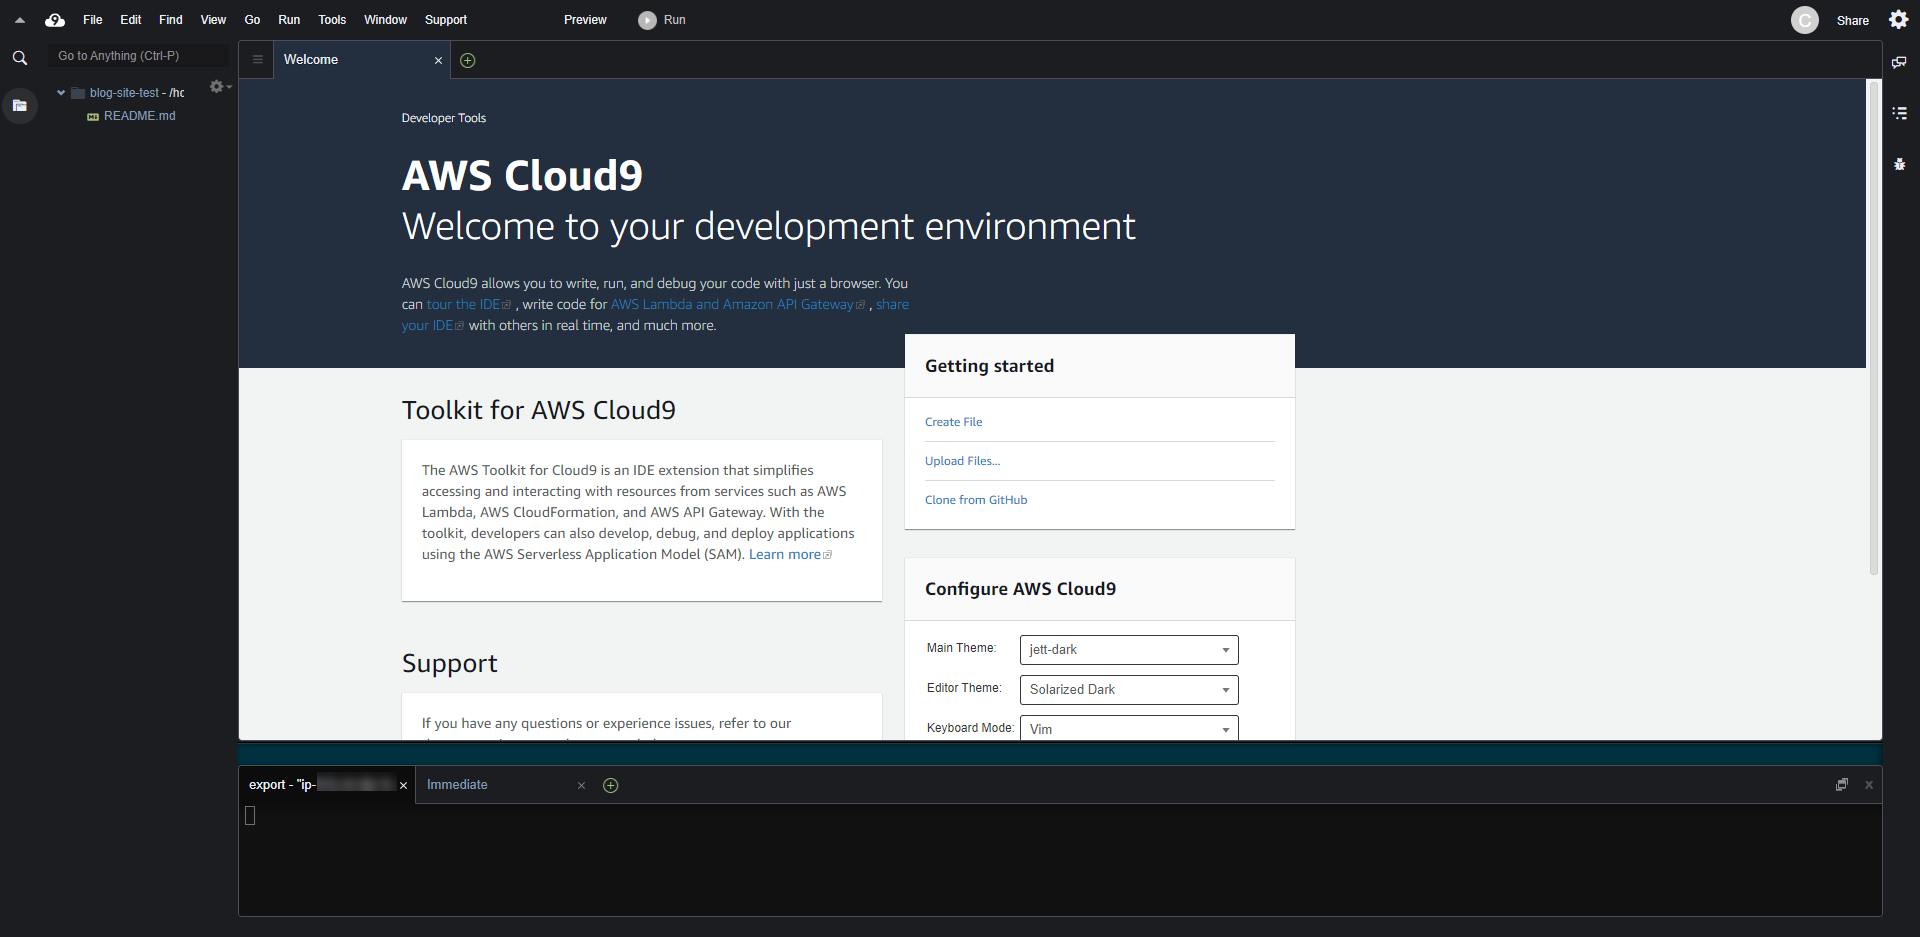
Now we only need to do a couple of things to get ourselves ready to edit and publish changes to our website.
4. Set up SSH keys
We’ll need some SSH keys on the Cloud9 instance so we can clone our website from GitHub.
ssh-keygen

Generating public/private rsa key pair.
Enter file in which to save the key (/home/ec2-user/.ssh/id_rsa):
Enter passphrase (empty for no passphrase):
Enter same passphrase again:
Your identification has been saved in /home/ec2-user/.ssh/id_rsa.
Your public key has been saved in /home/ec2-user/.ssh/id_rsa.pub.
The key fingerprint is:
SHA256:xxxxxxxxxxxxxxxxxxxxxxxxx6B8ZT7oTA ec2-user@ip-172-xx-x-x.ap-southeast-2.compute.internal
The key's randomart image is:
+---[RSA 2048]----+
|xxxxx            |
|xxxxxx           |
|xxxxxxxx         |
|xxxxxxx          |
|xxxxxxxxx        |
|o o o. =         |
|.xxxxxxxx        |
|    .. = .       |
|     ++ .        |
+----[SHA256]-----+

cat ~/.ssh/id_rsa.pub

ssh-rsa xxxxxxxxxxxxxxxxxxxxxxxxxxxxxxxxxxxxxxxxxxxxxxxxxxxxxxxxxxxxxxxxxxxxxxxxxxxxxxxxxxxxxxxxxxxxxxxxxxxxxxxxxxxxxxxxxxxxxxxxxxxxxxxxxxxxxxxxxxxxxxxxxxxxxxxxxxxxxxxxxxxxxxxxxxxxxxxxxxxxxxxxxxxxxxxxxxxxxxxxxxxxxxxxxxxxxxxxxxxxxxxxxxxxxxxxxxxxxxxxxxxxxxxxxxxxxxxxxxxxxxxxxxxxxxxxxxxxxxxxxxxxxxxxxxxxxxxxxxxxxxxxxxxxxxxxxxxxxxxxxxxxxxxxxxxxxxxxxxxxxxxxxxxxxxxxxxxxxxxxxxxxxxxxxxxx ec2-user@ip-172-xx-x-xx.ap-southeast-2.compute.internal
5. And then upload this key to GitHub

6. Clone website source
Now we’re ready to clone our website repo.
git clone git@github.com:chrismckinnel/xxxxxxxxx.git

Cloning into 'xxxxxx'...
remote: Enumerating objects: 188, done.
remote: Counting objects: 100% (188/188), done.
remote: Compressing objects: 100% (135/135), done.
remote: Total 188 (delta 71), reused 167 (delta 50), pack-reused 0
Receiving objects: 100% (188/188), 8.12 MiB | 4.42 MiB/s, done.
Resolving deltas: 100% (71/71), done.
7. Install dependencies
I’ve chosen to use Start Bootstrap’s Clean Blog for my website, which uses gulp to build the website files into a dist directory, and defines a watch task that serves the website locally and does a hot-reload when any files change. So let’s install gulp globally (we get npm out of the box with the Amazon Linux 2 AMI).
npm install -g gulp

+ gulp@4.0.2
added 322 packages from 220 contributors in 15.361s
Next we run an npm install in our website directory to get the packages we need.
cd our-blog
npm install

added 645 packages from 493 contributors and audited 712 packages in 30.223s
8. Serve the website locally
Now we can run gulp watch, which will serve our site locally so we can hit it in a browser.
gulp watch

[20:07:07] Using gulpfile ~/environment/our-blog/gulpfile.js
[20:07:07] Starting 'watch'...
[20:07:07] Starting 'clean'...
[20:07:07] Finished 'clean' after 24 ms
[20:07:07] Starting 'modules'...
[20:07:07] Finished 'modules' after 123 ms
[20:07:07] Starting 'css'...
[20:07:07] Starting 'prism_css'...
[20:07:07] Starting 'js'...
[20:07:07] Starting 'html'...
[20:07:07] Starting 'img'...
[20:07:08] Finished 'prism_css' after 378 ms
[20:07:08] Finished 'js' after 380 ms
[20:07:08] Finished 'html' after 382 ms
Browserslist: caniuse-lite is outdated. Please run next command `npm update`
[20:07:08] Finished 'css' after 563 ms
[20:07:08] Finished 'img' after 618 ms
[20:07:08] Starting 'watchFiles'...
[20:07:08] Starting 'browserSync'...
[20:07:08] Finished 'browserSync' after 21 ms
[Browsersync] Access URLs:
 --------------------------------------
       Local: http://localhost:3000
    External: http://172.31.12.201:3000
 --------------------------------------
          UI: http://localhost:3001
 UI External: http://localhost:3001
 --------------------------------------
[Browsersync] Serving files from: ./
Great! Now all we need to do is update the Cloud9 instance security group so we’re allowed to hit its public IP and we should get a local version of our website that we can get fast-feedback from when we’re developing locally.
9. Update security groups
I generally choose “All traffic” and select my own IP from the drop-down. You can select individual TCP ports if you want, though.

10. View and change your website with fast feedback!
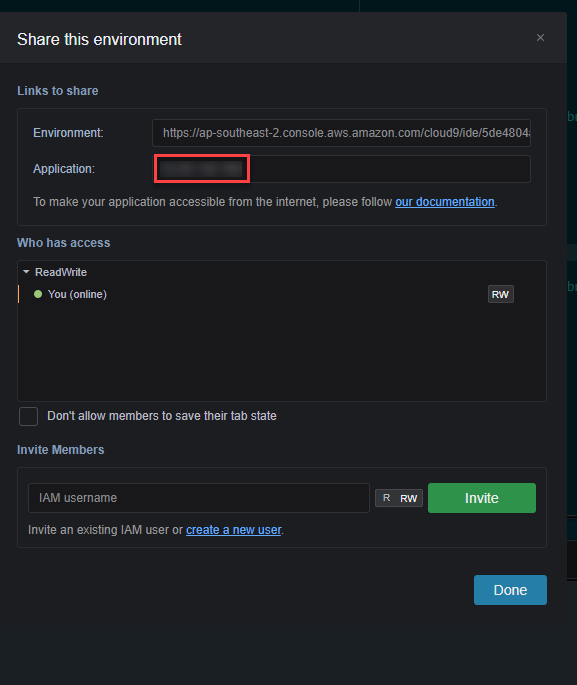
Now you can hit the “Share” button up on the top right-hand corner of Cloud9 to get the public IP of the instance, and you should be able to hit a local version of your website being run by gulp!
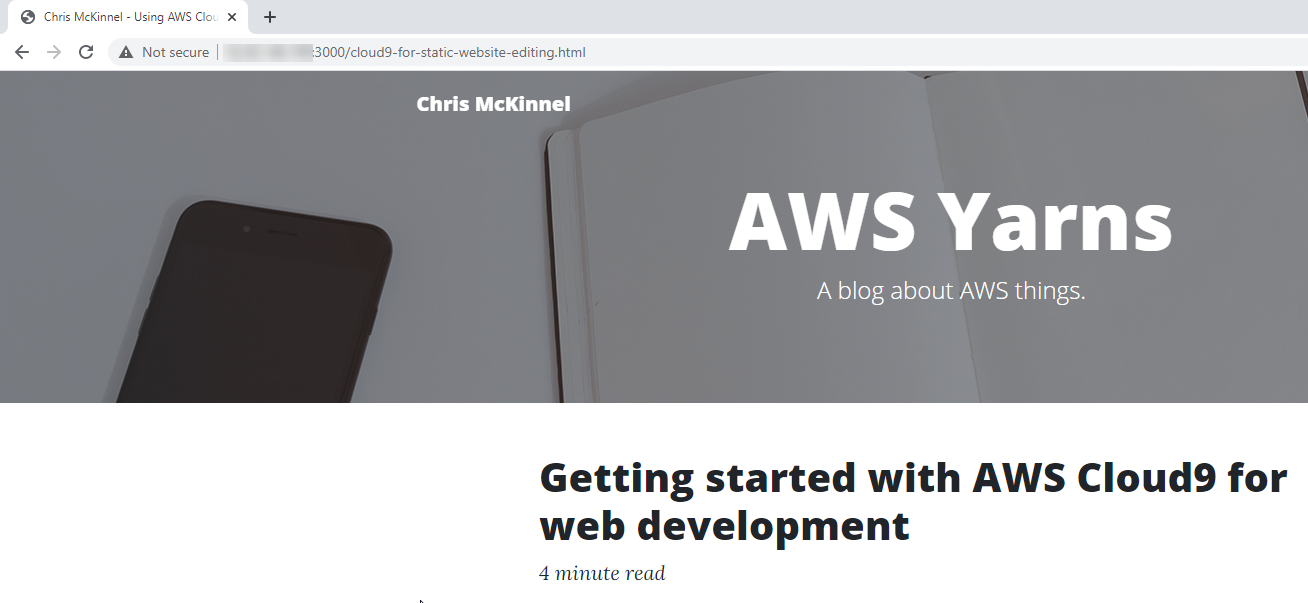
Now every time you make a change to your source control and hit save, your website will auto-reload in your browser and you’ll get super fast feedback.
Because I have my website set up with a CI / CD pipeline using AWS CodePipeline and CodeBuild, all I need to do is push to source control after making local changes and the pipeline automatically publishes the changes to mckinnel.me.
Let’s do that now.
git add .
git commit

[master 7609d05] Publish post on Cloud9
 12 files changed, 451 insertions(+)
 create mode 100644 cloud9-for-static-website-editing.html
 create mode 100644 img/cloud9-github-ssh.png
 create mode 100644 img/cloud9-security-group.png
 create mode 100644 img/cloud9-share.png
 create mode 100644 img/cloud9-started.png
 create mode 100644 img/cloud9-starting.png
 create mode 100644 img/cloud9-step-1.png
 create mode 100644 img/cloud9-step-2.png
 create mode 100644 img/cloud9-step-3.png
 create mode 100644 img/cloud9-website.png

git push origin master

Enumerating objects: 20, done.
Counting objects: 100% (20/20), done.
Delta compression using up to 2 threads
Compressing objects: 100% (16/16), done.
Writing objects: 100% (16/16), 959.45 KiB | 4.57 MiB/s, done.
Total 16 (delta 4), reused 0 (delta 0)
remote: Resolving deltas: 100% (4/4), completed with 4 local objects.
To github.com:chrismckinnel/blog-site.git
   36f19c3..7609d05  master -> master
That’s it! Within a few minutes, those changes will be live.
11. Increase disk size
What I also do is increase the disk size of my Cloud9 instance, mainly because I do a bit of work with Docker – it doesn’t take long to get a few GB worth of docker images on your development machine. I just increase the disk size using the AWS Console and then follow the Extending a Linux file system after resizing a volume guide.